On my recent snow backpacking trip to Lake of the Woods in Desolation Wilderness over Memorial Day, I found that it was impossible to be ultralight. I’m usually only in the “light” category anyway, with a base weight of 12-16 lbs depending on whether I have a bear canister and any luxury items. I have lots of duplicate items and for snow camping I kept reaching for the heavier of each. Thick wool hat instead of fleece beanie, wool long johns instead of hiking pants to sleep in, heavier sleeping pad and so on. With food and water I was at 35 lbs, which isn’t too bad, considering.
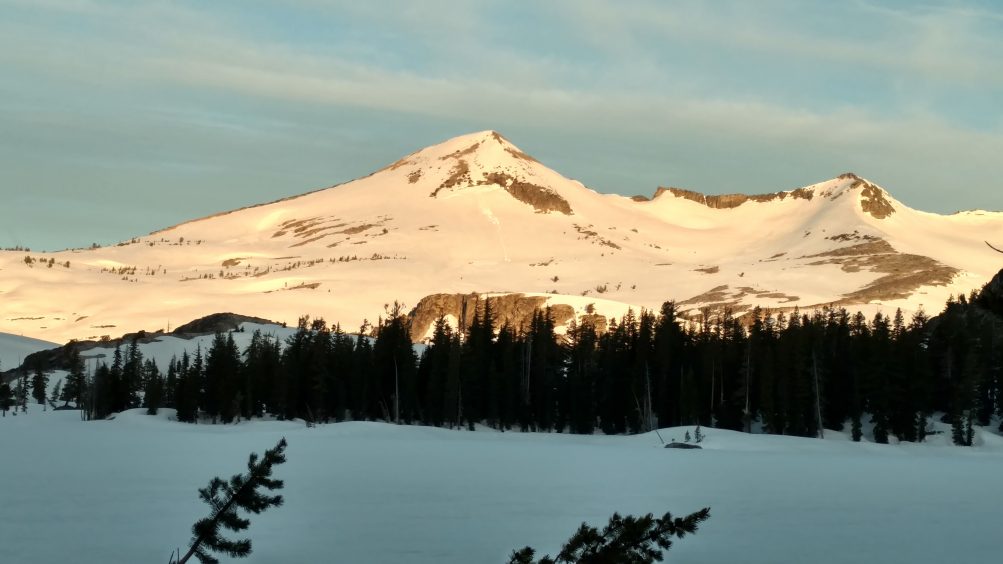
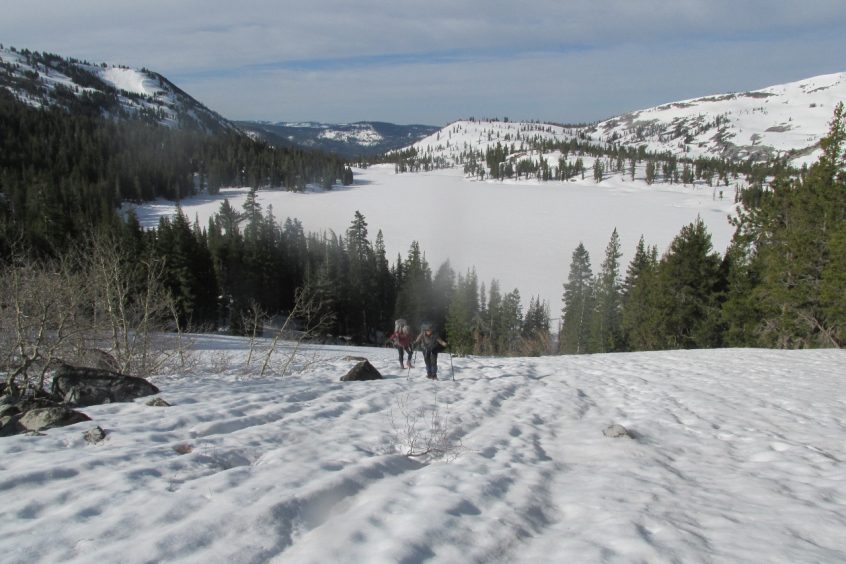
Pyramid Peak (9,985 feet) from Lake of the Woods
Below is a list of gear that I found helpful. This is over and above any of the regular backpacking equipment that I use. To see my usual list and other checklists, see my Backpacking Resources page.
Before I did this trip, I took a hiking snow skills class with Ned Tibbits, founder of Mountain Education. In this one-day class we practiced self arrest with an ice axe and Whippet, a special hiking pole with an pick on the end, and heard some tips on crossing streams, navigation and traveling over snow. I highly recommend getting some hands-on training in self-arrest before venturing into snowy trails.
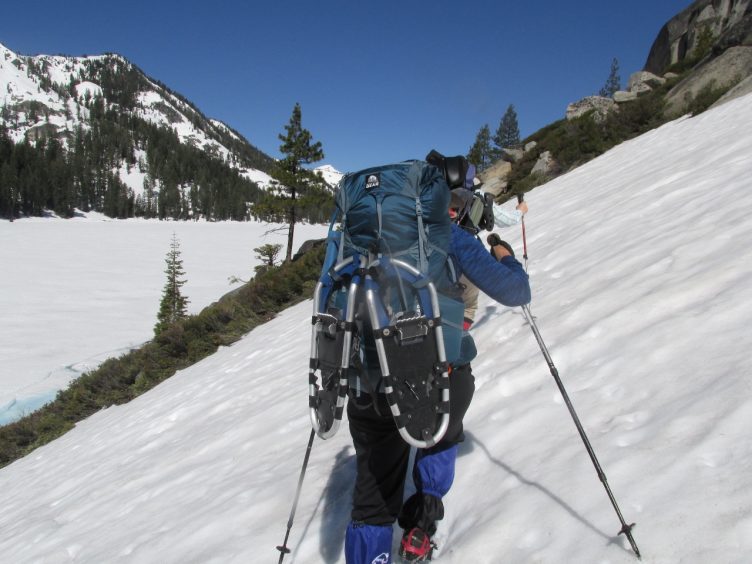
Traversing a snowy slope with Microspikes above Echo Lake.
Extra gear for snow
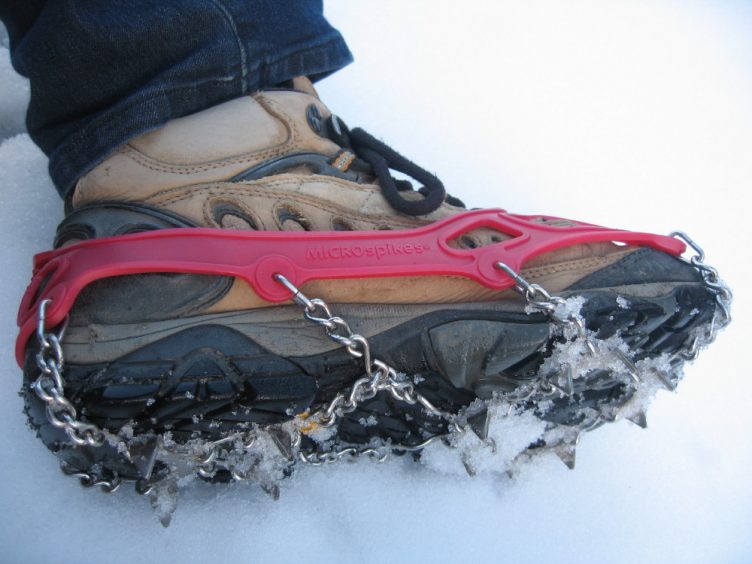
Kahtoola Microspikes
- Carabiner for Microspikes. I used a variety of cords, buckles and ‘biners to secure the spikes to my pack when I wasn’t using them. I found that the carabiner was efficient and secure when we were taking them on and off as conditions changed.
- Snowshoes. The snowshoes came in handy in the afternoon when the snow softened. Later in the summer, when the snow is more consolidated, snowshoes wouldn’t be as effective. Ned recommends the MSR Lightning Ascent or a similar snowshoe that has a sharp edge rather than a rounded tube. This makes it more effective to set a platform on a traverse.
- Hiking poles with baskets. Normally in summer I remove the baskets but in snow they are necessary.
- Bungee cord for snow shoes. Snowshoes are so bulky and awkward that a bungee cord was most effective for lashing them to the outside of my pack. I hooked one end on the thin frame of my ZPacks pack, looped the other end through the snowshoes a couple of times and hooked the end to the frame on the other side.
- Thin cord, 6 or more lengths, each 18″ long, one for each tie down. See Pitching A Tent In Snow.
- Chemical hand warmers. These were handy at night and were used at the foot of the sleeping bag. An alternative is to fill a water bottle with hot water, making sure that it is tightly closed so it doesn’t leak. I wasn’t organized enough for this operation on my first snow trip.
- Down throw quilt. These inexpensive thin quilts cost $20-30 from Costco or Eddie Bauer and can add several degrees of warmth to your sleeping bag.
- Sit pad. A rectangle of closed cell foam makes a good insulated seat in the snow.
- Pack cover. I used mine to spread food or other gear out on a waterproof surface on the snow. I put my sit pad on it and used it to protect my legs from the snow at dinner since I didn’t have a chair.
- Rain pants for sitting in snow. You probably see a theme here. Having rain pants meant that I could sit anywhere and not worry about getting wet.
Pitching a Tent in Snow
Heavier versions of my regular gear
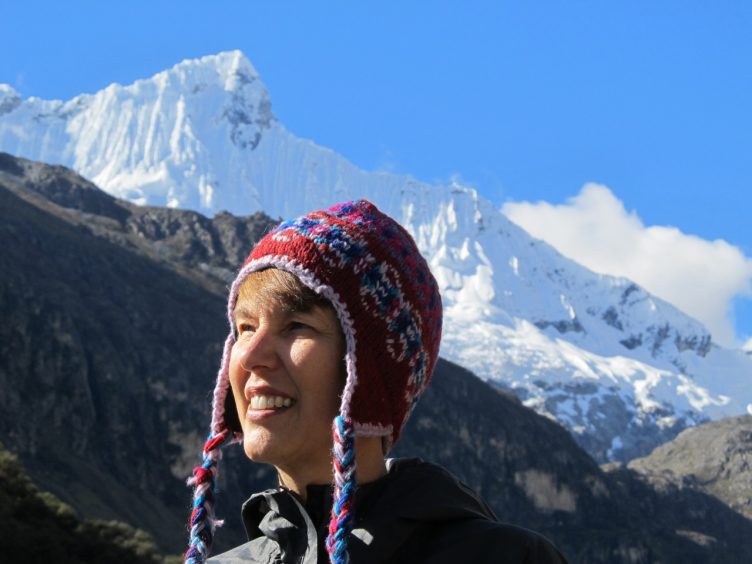
Tuck’s Toogue below Mt. Pisco in Peru.
- Marmot Angel Fire sleeping bag. It’s warmer than my Sierra Designs Sleeping Bag.
- Kora Yak Wool long johns. I usually wear my hiking pants to bed if it’s cold but warmer sleepwear was needed
- Socks. Four pairs of socks instead of three and warmer socks because I was worried about them getting wet.
- Gloves. Three pairs due to fear of wetness and heavier than the thin ones I use in summer. I also had a pair of waterproof over mitts.
This steep slope might have been easier with crampons instead of Microspikes above Lake of the Woods.
Gear I didn’t have, but would consider next time
- Kahtoola K10 crampons. If steeper hills were encountered I’d want the beefier and longer spikes of a real climbing crampon instead of Microspikes.
- Black Diamond Whippet. This hiking pole equipped with a steel pick would be required if the exposure was greater.
- Helinox camp chair. I could see that everyone one else was much more comfortable being able to get off the snow.
- Mylar Space blanket. I would put it under my sleeping pad. The pad was warm but got wet on the bottom.
- Down booties. No explanation needed.
- Short sleeved shirt. It was hot during the day and we were working hard. I was so worried about being cold that I only brought long sleeved shirts.
Things I learned
- Average speed was 1 mile per hour. This was due to increased time fiddling around with equipment, frequent stops to change into and out of Microspikes and snowshoes as conditions and exposure changed and decreased speed in general, especially with snowshoes. Suncups (depressions in the snow) can also slow progress.
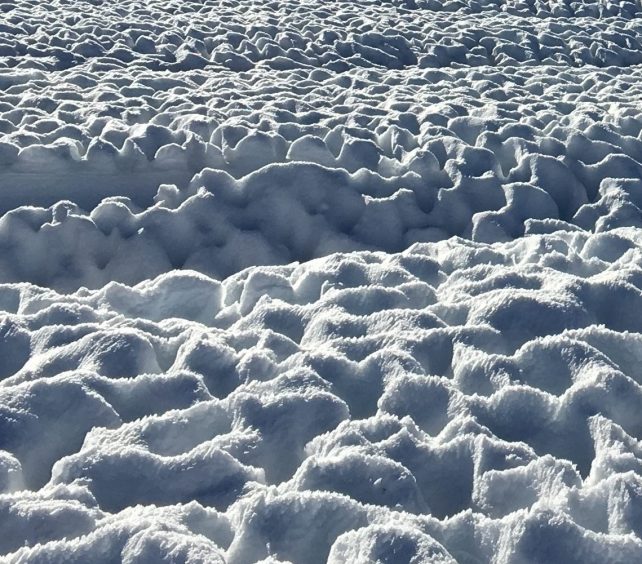
Suncups really slow things down.
- Traverses are scary. I suspected this ahead of time but it was confirmed. Going straight up or down a low or moderate angled hill is easier than going across it. On a traverse, your boot or snowshoe wants to slide downhill unless it has a good, solid platform. On a steep hill, the consequences of a fall can be great if there is a cliff, waterfall or band of trees at the bottom. We had one moderate hill but on anything steeper, I’d want climbing crampons such as Kahtoola K10s.
- Snow bridges are scary and unpredictable. Sometimes you don’t even know you’re on one until you fall through or get to the other side and look back. Rivulets are running under the snow and it’s hard to tell when you’re standing on top of a hidden stream.
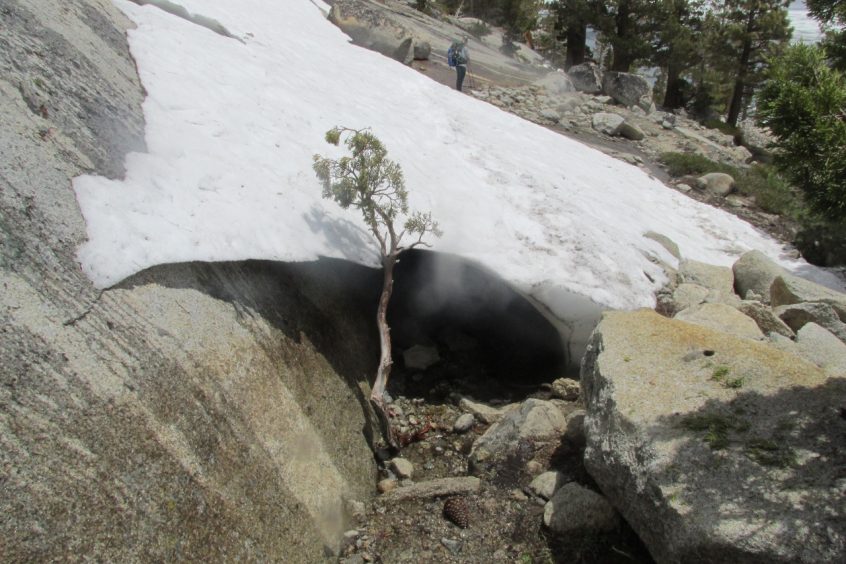
You never know what is under the snow. Approaching from the other side, this looked like solid snow.
- Sunscreen is inadequate. There is no amount of sunscreen could prevent the feeling of being irradiated. Frequent applications are required. Long sleeves and pants are a good idea if it’s not too warm.
- Glacier glasses or sunglasses that leave little to no room between your cheek and the edge of the sunglasses will prevent snow blindness.
- Navigation is challenging and freeing at the same time. It’s often hard to know if you’re on the trail. As long as you know approximately where you’re headed, you don’t have to worry about where the trail is because you can’t see it anyway.
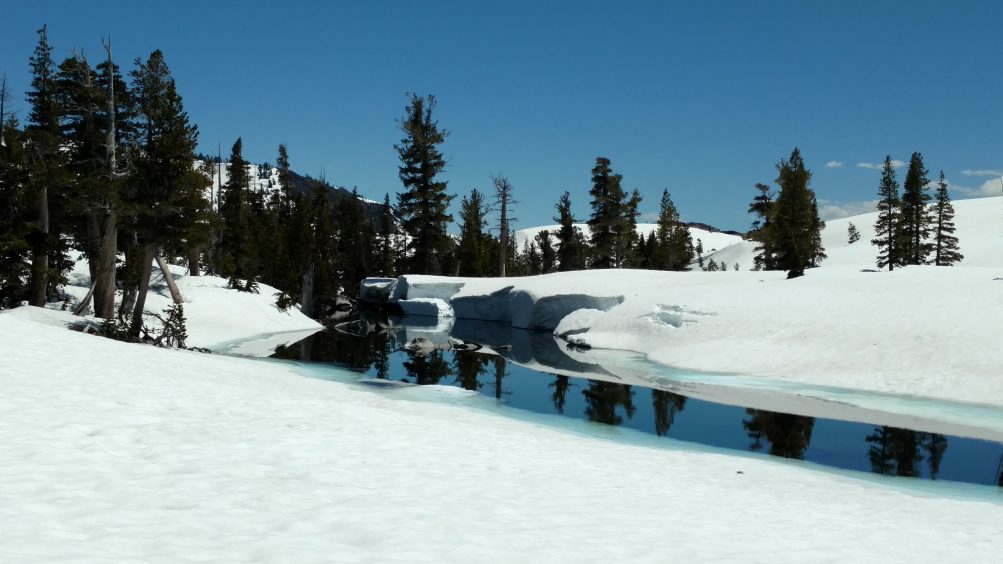
A lake is just starting to appear.
Would I do it again? Yes! The weather was perfect, the beauty astounding and the inconveniences minor. It’s fun to learn new skills and a weekend in the snow was perfect. I have found myself hiking in snow several times this year already, sometimes planned and others unexpected.
Information
Pitching a Tent in Snow
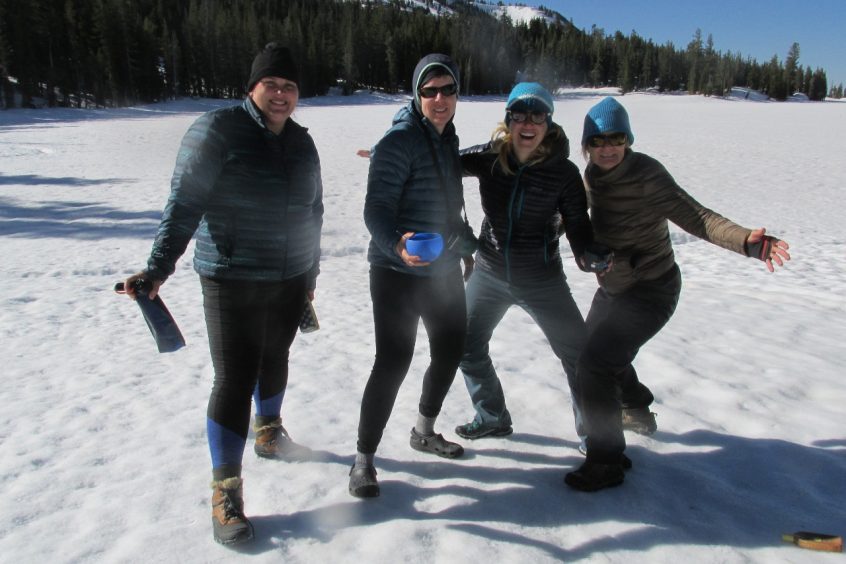
Girls just want to have fun


One thought on “An Introduction to Snow Backpacking in the Sierra”