


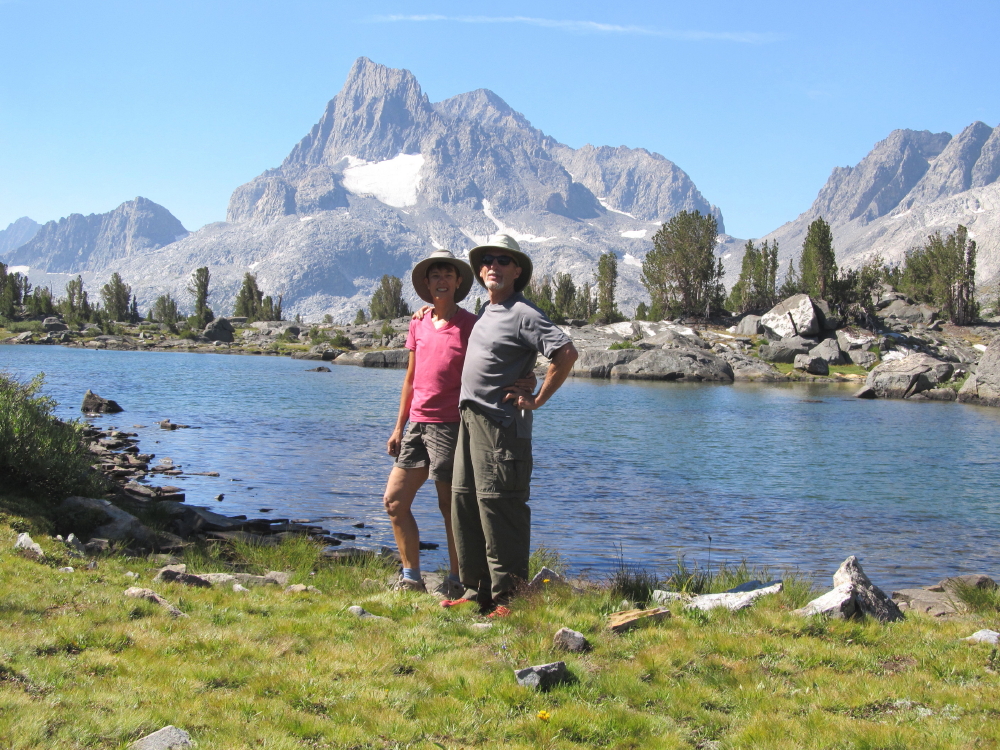
Inga & Steve at Island Lake (Banner Peak)
The John Muir Trail (JMT), which traces a 210.4 mile path along the jagged spine of the Sierra, is one of the premier trails in the U.S. It’s only a fraction of the length of the 2,663 foot Pacific Crest Trail (PCT), with which it shares much of its length, but is one of the tougher sections of that iconic trail. One end lies within the grandeur of Yosemite National Park, in the tourist-laden craziness that defines Little Yosemite Valley, while the other is tethered to the top of wind-swept Mt. Whitney, highest peak in the contiguous U.S. at 14,505 feet. The JMT meanders through a patchwork of jurisdictions including the Ansel Adams Wilderness, Inyo National Forest, Devil’s Postpile National Monument, Sierra National Forest, John Muir Wilderness, King’s Canyon National Park and Sequoia National Park but thankfully only one permit is required, which covers the entire length. Unfortunately, John Muir Trail permits can be hard to get and some strategy in planning is involved. Along the way hikers confront an array of eight high passes ranging from 10,000 to over 13,000 feet. With 80% of the trail being higher than 10,000 feet and with a third at 10,000 feet acclimatizing to altitude is a requirement.
Information in this article is updated frequently and is current as of 2020. This is an overview article; please see other JMT articles on Inga’s Adventures that has more specific information on each topic.
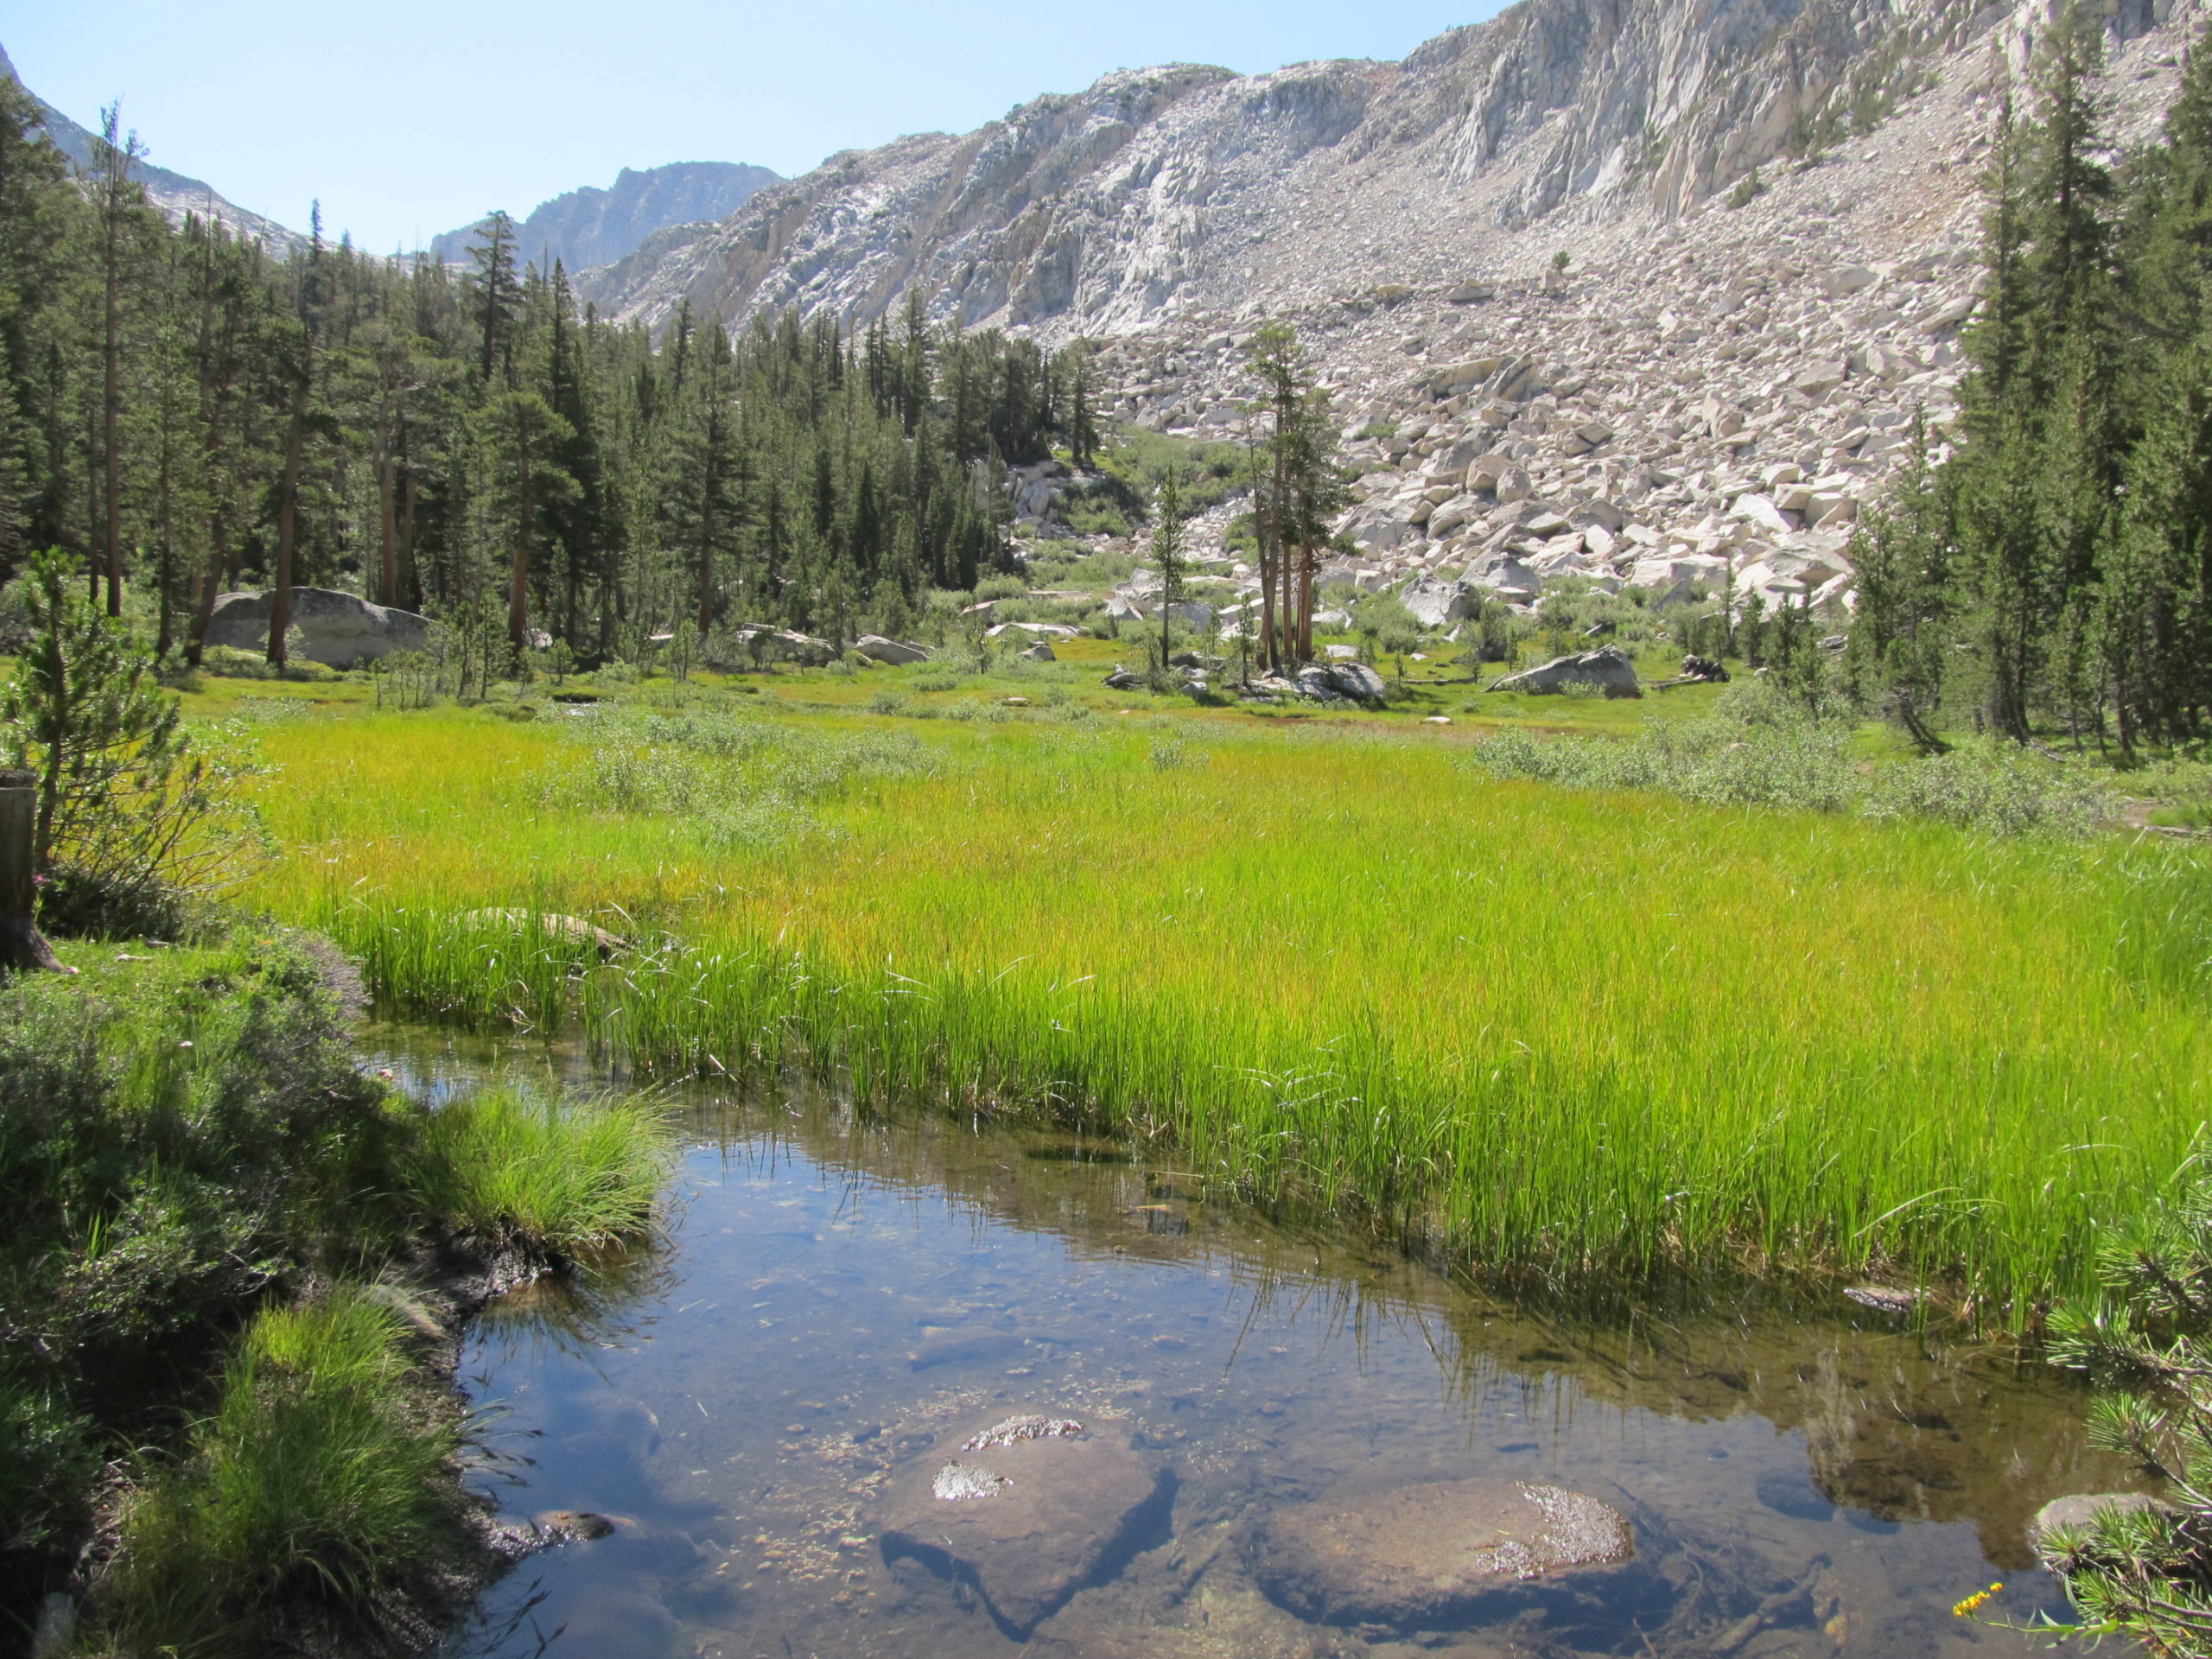
We started planning several years ago and finally hiked a big chunk of the JMT in August 2014, from Tuolumne Meadow in Yosemite National Park to Kearsarge Pass. We elected not to repeat the section we had already done on the High Sierra Trail, in essence, section hiking it. But this piece was long enough for us at 170 miles. Before my hike I monitored forums such as the John Muir Trail (which I now co-moderate) and Ladies of the JMT on Facebook. I had been immersed in JMT lore for so long that it started to feel like the main event was the planning, not the hiking. Once we were finally on the trail, most of the place names were familiar to me as we passed by. I could finally appreciate the beauty of Marie Lake, framed by pyramidal peaks and dotted with tiny islands, and understand the pain of the Golden Staircase after climbing quad-burning, tall, rock-hewn steps-fashioned-for-giants firsthand.
The planning involved several main areas of effort: logistics (permit, transportation and resupply), meal planning, physical training and then, finally actual trip planning where we tried to break down the mileage into manageable days. I handled the permit process and the bulk of meal planning, while Steve juggled transportation, lodging pre- and post-hike, and each of us had to work at physical training.
Permits originating in Yosemite National Park are hard to get for the peak time of August, our preferred time, so we marked the calendar for exactly 169 days (24 weeks+1 day) prior to our desired start date, using the handy Reservation Permit Window chart provided on the Yosemite NP website. The form may be submitted one day earlier than the 168-day window (check the most recent info as it can change from year to year). The digital form is now online. Around noon the next day I got an email confirmation that our first choice of dates was accepted. That was cause for celebration! Choosing Lyell Canyon (Tuolumne Meadows), rather than the most popular start of Happy Isles, and our mid-week start possibly contributed to our good fortune.
As of January 2017, the process was modified significantly to allow for a broader range of dates (3-week window for the rolling lottery) to be selected. The 168-day window has not changed, but they now allow a 2-day faxing window so that applications can be faxed 170 days before your desired start date. If you are reading blogs, books or guides, it is important to note the date of publication as the procedures change each year. The best source of information is the Yosemite NP website and my article, How to get a permit to hike the John Muir Trail.
If you want to go Northbound the permit will be issued from Inyo National Forest through Recreation.gov. See my article on Deciphering the Inyo Natioanl Forest Permit System. The traditional route would start at Whitney Portal and include the summit of Whitney. An alternative to this popular route, which is subject to lottery, is to start a little further south, at Horseshoe Meadow, going over Cottonwood Pass or New Army Pass. This adds approximately 20 miles to the JMT and is described in Wenk’s guidebook in the section called “Lateral Trails.” You can also enter at many mid-way points, almost all in Inyo NF. You may select options to visit Mt. Whitney (approaching from the west and returning to the JMT/PCT) vs exiting Mt. Whitney (traveling west to east and exiting at Whitney Portal).
There are other creative options including starting south of Yosemite at a number of trails around the town of Mammoth Lakes such as Red’s Meadow or Duck Lake. Some choose to hike north from trails around Mammoth Lakes into Yosemite. They return to Mammoth via YARTS and enter another trailhead (another permit is required) to complete the trail going south. Permits for the trails around Mammoth are in Inyo National Forest and are obtained through Recreation.gov as described above.
Another permit you will need within Inyo National Forest (but not Yosemite) is a California Campfire Permit. This permit, thankfully, is simple to obtain and is free. You can get it at any California ranger station or online at PreventCaliforniaWildfireCA.org. After you watch a 2.5 minute video you will take a short quiz and then you can download and print your certificate. I scan these pesky forms (or take a photo) in a notes app (e.g. Evernote or Keep) on my phone so I don’t have to carry many pieces of paper.
We drove to the Wilderness Center in Tuolumne Meadows to start the trail and left our car there, stepping onto the Lyell Canyon trail directly from the parking lot.
Paul, from the East Side Sierra Shuttle, gave us a ride from the trailhead at Onion Valley to a destination served by the Yosemite Area Regional Transit (YARTS) bus. Paul is more expensive than stringing together public transportation using YARTS and ESTA. but given that our month of vacation was costing much less than if we went on a big trip, we decided to splurge on having a confirmed ride. We arranged for Paul to pick us up at Onion Valley and drop us at a motel in Mammoth so we could have an R&R day before having to re-enter civilization. He was a good conversationalist and we enjoyed his stories. After luxuriating in Mammoth we took YARTS to Tuolumne Meadows to retrieve our car. Mammoth is the most southern location that YARTS serves while Tuolumne is the northern terminus so people continuing to Yosemite Valley must transfer to another shuttle.
For out-of-the area hikers who must fly in there are a number of options for ports of entry, including San Francisco, Fresno, Sacramento and Reno. From an acclimatization perspective, an effective strategy would be to fly to Reno, rent a car or take public transportation (see links below) to Mammoth Lakes and spend a couple of days there at 7,800 feet. You can get last minute supplies at camping stores and large grocery stores and can take some day hikes to get used to the altitude. You can even take buses to Red’s Meadow and drop off a resupply box. Then take the YARTS bus to Yosemite and start there if you have a permit.

Lakeview Lodge in Lee Vining
Before starting our hike we stayed one night at the old-fashioned but comfortable Lakeview Lodge in Lee Vining, on the eastern side of the Sierra, then drove into Yosemite to pick up our permit at the Wilderness Center and start our hike, where we left our car.
When we finished the hike we bedded down for two nights in the relative luxury of the High Sierra Hotel in Mammoth Lakes, mostly eating, sleeping and soaking in the hot tub. We had only planned one night we finished a day early and elected to stay an extra night, which gave us an extra cushion of time for re-entry into the real world.
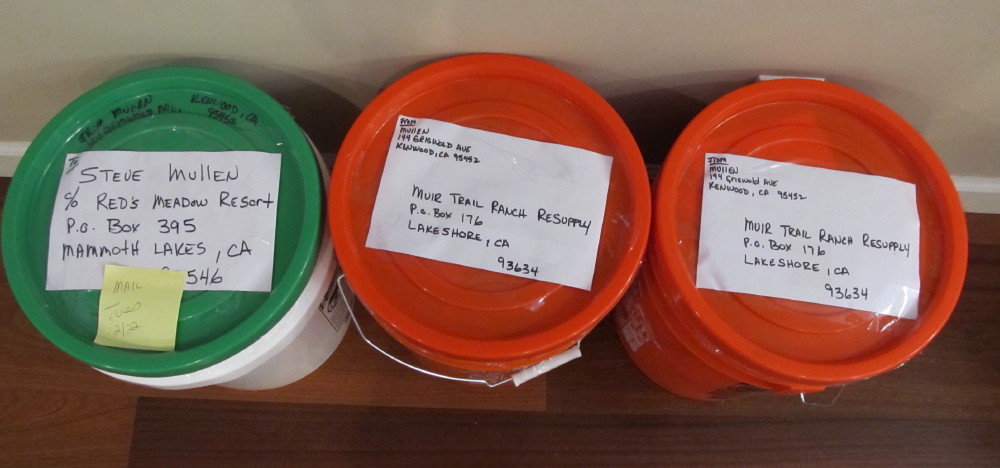
Resupply buckets
See my article on Resupply on the John Muir Trail.
Steve mashed our resupplies into five gallon buckets, which required some tough decisions and rejects, and sent them off to two backcountry camps, Red’s Meadow Resort near Mammoth, and Muir Trail Ranch (MTR), not near anywhere, paying close attention to the packaging requirements and recommended lead times for each. They went out the week before we started our hike and were each waiting for us when we arrived. Red’s accepts boxes but MTR requires buckets to protect the resupply from mice and we elected to use buckets for both.
Some people break up the long stretch between MTR and Whitney Portal by getting resupplied in a number of ways. These include hiking to Onion Valley via Kearsarge Pass, or using a packer (Cedar Grove to bring supplies to a designated place on the trail. For the Onion Valley option there are several choices of how to get supplies. These include (1) mailing a box of food to the post office in Independence and hitching a ride down to town to pick it up, (2) mailing a box of food to the Mt Williamson Motel, and reserve a room with them, (3) mailing a resupply box to Sequoia Kings Pack Trains pack station at Onion Valley (for a fee, may include a hot shower), (4) hitchhike down to Independence, or better yet, Lone Pine or Bishop, and go to a grocery store to resupply, (5) plan to stay at a motel in Independence, or pack station. All of these options involves time, effort (14 extra miles) or fees. See the complete list of eastern Sierra packers at EasternSierraPackers.com. Western Sierra packers, such as the Cedar Grove Pack Station, may deliver supplies to other locations.
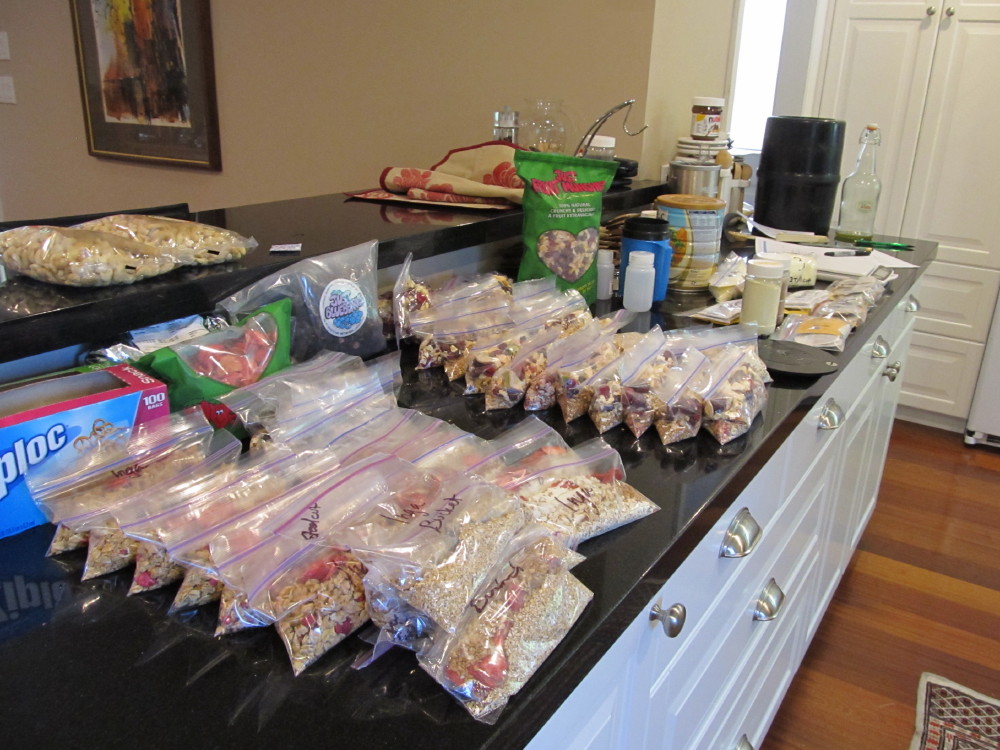
Baggies, lots of baggies
Food prep took on a life of its own. You would have thought I was planning for six months on the PCT between the spreadsheets and the food packets that spread all over the kitchen counters, dining room, both freezers and beyond. This is covered in a separate article, Meal Planning for the John Muir Trail, but, to summarize, we split dinners between Mountain House freeze-dried dinners and home dehydrated foods. Now, I make my own meals and have written two books in The Hungry Spork Series: The Hungry Spork: A Long Distance Hiker’s Guide to Meal Planning and The Hungry Spork TRAIL RECIPES: Quick Gourmet Meals for the Backcountry.
Breakfasts were instant oatmeal with added nuts, flax seeds, freeze-dried fruit from Just Tomatoes and powdered milk, or Northern Gold Granola.
Lunches were divided between dried mixes from our local organic grocer, Oliver’s (similar to Whole Foods), and included black bean mix, tabbouleh and a corn soup/instant potato flake mix, each rehydrated mix wrapped in a tortilla with string cheese and cured meats. We packed unopened packages of La Tortilla Factory and Mission flour tortillas in our resupply and they stayed fresh for a month, unrefrigerated. Same for the string cheese. It’s amazing but true.
Snacks were Clif Builder Bars with 20 grams of protein along with Pro Bar Meal Bars, Jolt gels, Jelly Belly jelly beans, lemon drops, chocolate bars and gorp made from different nuts.
If you’re interested in planning healthy meals on the trail, please join my Facebook Group, Healthy Gourmet Backpacking Food.
Hikes, lots of hikes, made up the bulk of my training, mostly on the steep trails of Sugarloaf Ridge State Park in Kenwood, CA. We squeezed in two shake-down backpacking trips of two nights each in Tahoe (one at Loch Leven Lakes, the other in Desolation Valley) and some gym work that started as soon a ski season ended. We felt like we were in pretty good shape when we started, but that doesn’t mean it was easy.
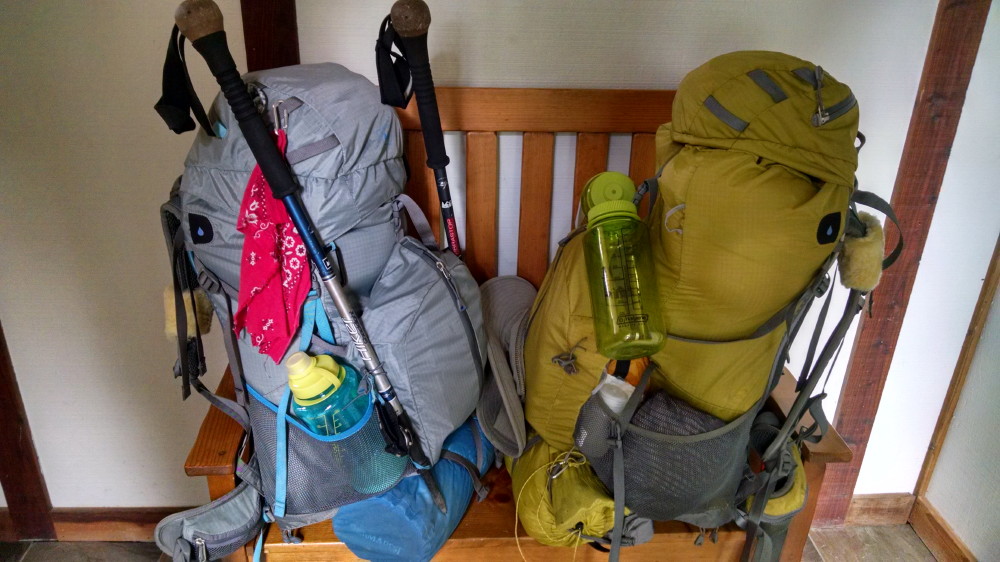
All packed up
Not exactly. We packed up all of our gear and I was very proud of how much I whittled down, especially because, for a trip this long, rain gear and other protection had to be carried, no matter what the weather report. For our second shakedown trip I was quite pleased to see that my base weight was only 16 pounds. This ultralight thing was really working. Then, with almost exactly the same gear I weighed my pack right before the JMT and my base weight was 20 pounds! What gives? I went through every item multiple times but could not figure out what was different. Maybe it was on a different scale? I don’t know. All I know is that I was disappointed and started discarding stuff sacks and all kinds of things, but could only shave a few ounces off. At one point I even had my closed-cell foam sit pad and cozy out, which only weighed a couple of ounces. Thank goodness those went back in. I decided I didn’t need two pairs of gloves and left behind my spring gloves, taking only my fingerless bike gloves to protect my hands from blistering from the trekking poles, a decision I would later regret when temperatures dipped into the 20s and frost lay heavily inside and outside the tent.
Finally we got everything stuffed into our packs and I had 25 pounds, with food and water, for the first four days. That’s still in the “light” range and I’m not sure I’ll ever achieve “ultralight” (less than 10 lbs base weight).
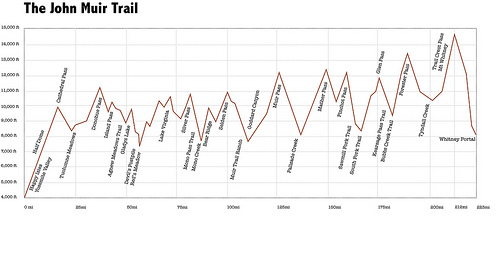
JMT Elevation Profile (Loc Nguyen)
We spent two nights at our cabin in Tahoe, at 6,800 feet, to begin the acclimatization process. We then drove down Hwy 395, along the eastern side of the Sierra, stopping in Mammoth Lakes, at 8,000 feet, to drop off a box of clean clothes at the motel where we were to stay after finishing. We had an early dinner and then backtracked to Lee Vining (6,781 feet) to stay for the night before we could pick up our permit.
Diamox (acetazolamide) is a drug that is often used to prevent and treat altitude sickness but because of an allergy to sulfa it wasn’t recommend for me. Instead I was following a protocol from the CDC (see Altitude Illness article) that uses dexamethasone 4 mg every 6 hours for two days before the trip and a third day as the trip began. It made me feel weird and wired and did not make me feel like I was starting off strong, but it may have helped me acclimate as I have had loss of appetite, headache and nausea when I’ve been over 10,000 feet before.
I had mild symptoms of altitude sickness such as headache and nausea, mostly in the first part of the trip. I never felt great sleeping at 10,000 to 11,000 feet, even after 3 weeks. After the hike I got more interested in the subject and co-authored the Unofficial Acclimatization Guideline for JMT Hikers, which is recommended reading. If you do nothing else print or download to your device the Lake Louise Score for altitude sickness and know what to do if you or someone in your party develops symptoms.
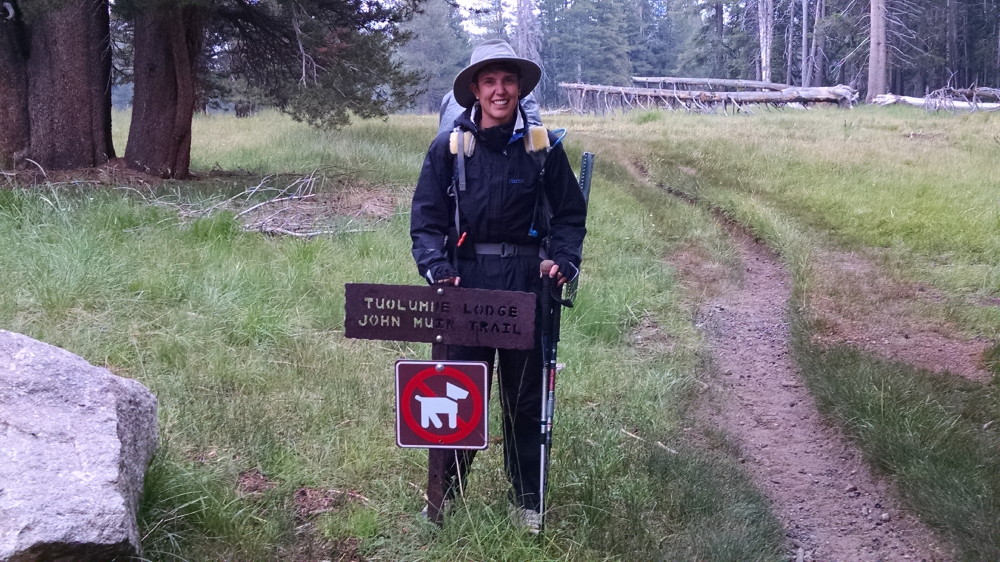
Inga at the start
Bright and early on Day 1 of our hike we were up and on our way across Tioga Pass to the Tuolumne Wilderness Center, where they issued our permit. The ranger asked if we had bear canisters and we answered in the affirmative, as we each had one, but he didn’t ask to see it. After all the drama around sending in the permit application it felt very anticlimactic to get in and out of the permit office in five minutes. Luckily, they allow extended parking (for weeks) in the parking lot at the Wilderness Center so we double checked to make sure we had removed all food and garbage from the truck to prevent a bear break-in and grabbed our packs. Not so fast, though. By the time we got going a steady rain was falling and we had to immediately tear through our packs to don our rain gear and pack covers. It was a little discouraging to start off under leaden skies that obscured views, but with a huge forest fire raging on the other side of the park we knew it was a positive sign.
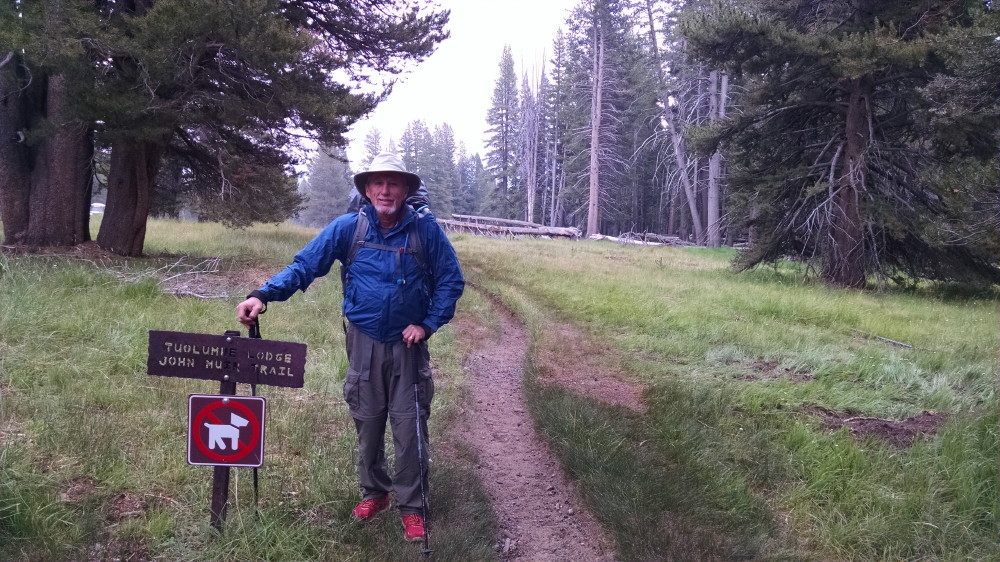
Steve at the start
It felt positively surreal to actually be hiking, instead of planning, planning, planning. We were too amped up to fiddle with a self-timed photo of both of us at the trailhead so we took separate pictures of each other and were off, one foot in front of the other along beautiful, and mercifully flat, Lyell Canyon.
There was a lot of planning but that just added to the sense of excitement and anticipation and was worth it in the end. Planning your journey starts with John Muir Trail permits. Good luck!
Yosemite National Park Resources
Inyo National Forest Resources
Transportation Options
Lodging
Resupply Options
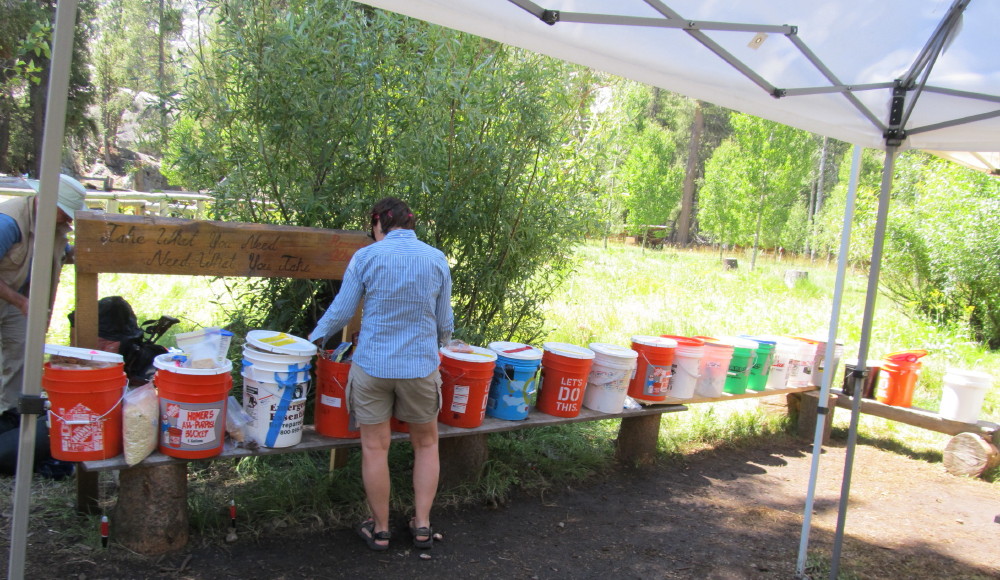
A hiker peruses the 20+ hiker barrels at MTR, loaded with rejects
tinahikes says:
Nice write-up- great info!